

A free MT5 trade manager that solves the lot size from where you put the stop
Drag the stop to where the trade is wrong and the lot size is solved for the risk you wanted. A free MT5 panel with breakeven, trailing and partial closes.
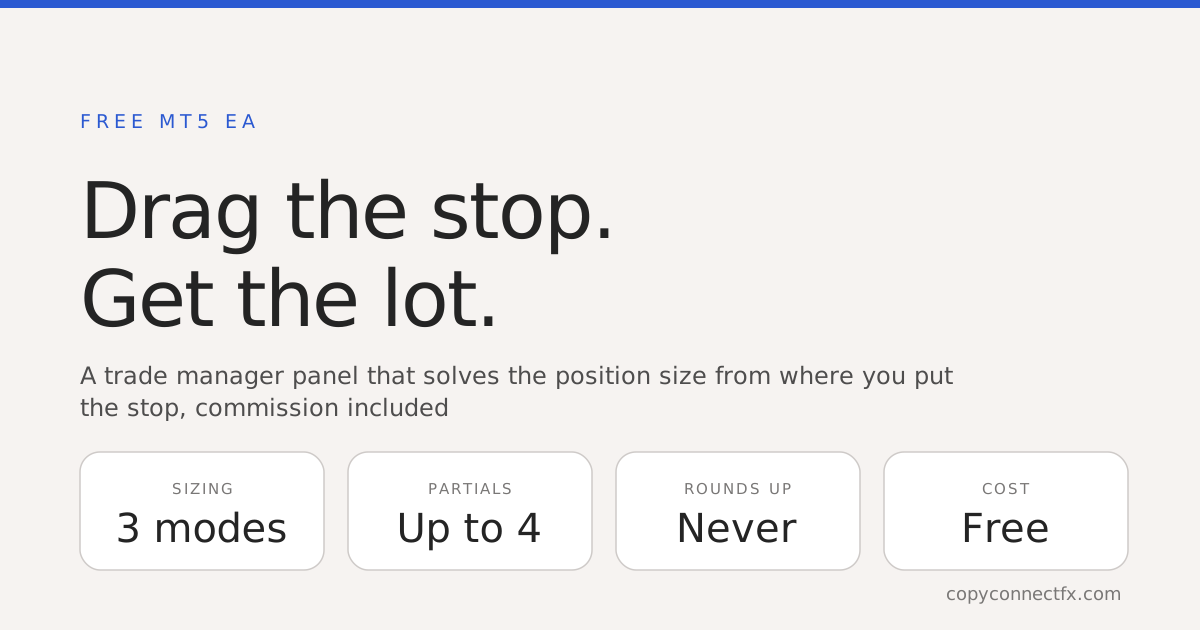
Short answer: a trade manager EA sits on your MT5 chart as a panel with three draggable lines. You drag the stop to where the idea is wrong, type the risk you want, and it solves the lot size — commission included, rounded down, never up. After you are in, it handles breakeven, trailing and partial closes. The CopyConnectFX Trade Manager does all of that, is free, and places nothing until you press a button.
The problem it removes
The gap between seeing a setup and being in it is where accounts get damaged. In those thirty seconds you are meant to work out the distance to your stop in points, what a point is worth on that symbol, what your commission does to the number, and what lot size leaves your loss at one percent. Most people do none of it. They use the lot they used last time.
That is fine on EURUSD at a fixed stop distance and quietly wrong everywhere else. The same 0.10 lots risks a different amount of money on gold than on a currency pair, a different amount again on an index, and a different amount on the same pair with a stop twice as far away. A position size that is not derived from the stop is not risk management — it is a habit.
Three lines, and what each one is for
When the EA loads, three labelled lines appear on the chart. They are draggable, and every number on the panel recalculates as you move them.
| Line | What it means | What its label shows |
|---|---|---|
| Entry (gold) | Where you want in. On a market order it is only used to measure distances; on a pending order it is the real trigger price. | Direction, the lot about to be sent, and what crossing the spread costs you to get in |
| Stop loss (red) | Where you are wrong. This is the line the lot size is solved from, and which side of the entry it sits on is what decides whether the plan is a buy or a sell. | Distance in points, the money at risk, and what share of your account that is |
| Take profit (green) | Where you take money off. Drag it onto the entry to send a trade with no target at all. | The same three things for the winning side |
The stop line doing double duty — both the risk measurement and the direction — is the part worth getting used to. You never pick "buy" or "sell" from a dropdown and you never pick limit-versus-stop on a pending order. You place the two lines where the trade actually is, and the panel reads your intention off them.
How the lot size is really calculated
This is the part most position-size tools get subtly wrong, so it is worth being explicit.
The EA asks the symbol itself what one price step is worth per lot, rather than assuming a pip is worth ten of your currency. It specifically asks for the losing side's value, because on some instruments the two differ. It multiplies that by the entry-to-stop distance to get what one lot would lose if the stop were hit, adds your round-turn commission for one lot, and divides your risk money by the result.
Then it rounds down to a lot step your broker will accept.
Two consequences fall out of that, and both are deliberate:
- Commission makes the lot smaller, not the loss bigger. Because the fee sits in the divisor rather than being subtracted afterwards, the money you lose when the stop is hit — fees included — is the number you typed. On a commission account this is usually the difference between asking for 1% and losing 1.2%.
- It refuses rather than rounds up. If your risk will not buy one minimum lot, the readout says too small in amber and the buttons send nothing. Rounding 0.004 lots up to a 0.01 minimum is two and a half times the risk you asked for, and on a small account that is how a 1% plan becomes a 3% loss without anybody noticing.
The panel, in the order you use it
There are nine regions on the panel. The Free Utilities page documents every button and every input exhaustively; this is the working summary.
- Sizing mode. % ACCT risks a percentage, MONEY risks a fixed cash amount, LOT ignores risk and sends the lot you type. The selected mode is filled green. The percentage can be taken from balance or from equity — equity moves with open trades, so it sizes you down after a loss and up after a win.
- Risk value. Type the number and press Enter. The label tells you the unit it is currently in: RISK %, RISK USD (your account currency), or LOT. Zero or less is rejected and the previous value returns.
- The readout. Lot size, risk and reward in money, margin the broker will hold, and the live spread. Outside % mode the risk line also shows what percentage of the account that amount is, so a fixed cash risk never silently becomes a large percentage after a drawdown.
- Target presets. 1:1, 1:2 and 1:3 move the target to that multiple of your current stop distance and leave the stop alone. FLIP mirrors the whole plan around the entry, turning a long setup into the equivalent short.
- BUY and SELL. A market order now, with the stop and target from the lines. If the stop is on the wrong side for the button you pressed, it refuses and says why rather than sending something you did not mean.
- PLACE PENDING. A pending order at the entry line. The stop line decides the direction and the entry line's side of current price decides whether that is a limit or a stop order. The button label shows you which it read before you press it.
- BE, TRAIL, PARTIALS. The three management behaviours, each on its own toggle. Green means on, and they act on trades that are already open.
- Close buttons. ALL, BUYS, SELLS, plus PROFIT for winners only, LOSS for losers only, and PENDINGS to delete waiting orders. Each needs two clicks within four seconds — the first asks, the second does it.
- Status line. The last thing that happened, and the reason anything was refused. Every one of those messages is also written to the Experts tab, so an hour later you can still read back why a trade did not go through.
After you are in: the three management behaviours
All three measure distance in the same unit, which you set once — R (multiples of the original stop distance) or plain points. R is the better default because the setting then survives moving between symbols.
Breakeven
At the trigger you set — 1.0R by default — the stop moves past entry by a small lock, 10 points by default, so a breakeven exit is slightly positive rather than exactly flat. There is a separate switch to add the price move needed to cover your commission on top of that lock, so that breakeven is genuinely breakeven after costs rather than a small loss wearing the word.
Trailing
Off by default. Trailing starts once the trade is far enough ahead — 1.5R out of the box — and then keeps a set gap, 1.0R, between price and the stop. A minimum-step setting stops the EA sending a stop modification on every tick, which your broker will thank you for.
Partial closes
Up to four levels, each with its own trigger and its own percentage. The defaults take half off at 1R and a quarter at 2R, leaving a quarter running. Levels three and four are off until you give them a percentage.
One detail here matters more than it sounds: the percentages are of the original position, not of what survived the earlier levels. If they compounded, "50% then 25%" would mean 25% of what was left, the slices would shrink every level, and on a small position the later ones would fall below the broker's minimum lot and silently never fire at all. Taking each percentage from the opening volume is what makes 50/25/25 mean what it reads.
The daily loss lock
Off by default, and worth turning on. Give it a percentage and once the day is down by that much of its starting balance, BUY and SELL stop working and the panel reads LOCKED. The day's starting balance is stored outside the EA, so restarting the terminal does not hand you a fresh allowance — which is precisely the loophole that makes most self-imposed daily limits useless. It resets on the next server day.
How to set up the Trade Manager
- Sign in and open Free Utilities in the dashboard, then download CopyConnectTradeManager.ex5. The account and the file are both free.
- In MetaTrader 5 open File → Open Data Folder, go into MQL5\Experts, and drop the file in. Right-click the Navigator panel and choose Refresh.
- Open the chart you want to trade and drag CopyConnectTradeManager onto it. Tick Allow Algo Trading in the dialog and check that the AutoTrading button in the toolbar is green.
- Set your commission per lot, round turn in the inputs if your account charges one. Leave it at 0 on a spread-only account. This is the single input most worth getting right.
- The panel appears top-left with three lines on the chart. Drag the stop to where your idea is wrong, check the readout, and only then press a button. Nothing is sent before that.
What it will not do
Being clear about this saves disappointment:
- It does not find trades. There is no strategy, no signal and no entry logic. It is arithmetic and management around decisions you make.
- It only manages while it is on the chart. Close the terminal and breakeven, trailing and partials stop. Your stop loss and take profit still sit with the broker, because those are real orders; the moving of them is not.
- It is one chart at a time. The panel manages the symbol it is attached to. Trading three symbols means three charts.
- It cannot fix a bad stop. Correct position sizing makes your losses the size you chose. It does not make them less frequent.
Where it fits with everything else
The Trade Manager is for trades you place yourself. If your trades arrive from somewhere else, a different tool does that job: the trade copier mirrors another MT4 or MT5 account, Telegram signals trades a channel you follow, and TradingView to MT5 turns your own indicator's alerts into orders. They all share the same principle as the panel — the sizing is derived, and nothing is rounded up.
Where to go next
- The free utilities — the Trade Manager, the dashboard EA and the rest, with every setting documented
- Lot size, worked out properly — the same arithmetic by hand, with examples for gold and indices
- How to calculate pip value — where the money-per-point number actually comes from
- The free dashboard EA — account statistics on the chart, for MT4 and MT5
- Daily, maximum and trailing drawdown — what the daily loss lock is protecting you from
Trading foreign exchange and CFDs carries a high risk of losing money. A position-size calculator makes your losses the size you intended; it does not make them less likely. Test any tool on a demo account before trading it live.
Frequently asked questions
What does an MT5 trade manager EA actually do?+
It does the arithmetic and the babysitting around a trade, not the deciding. Before entry it turns the risk you want into a lot size, using the distance to your stop and the real money-per-point of that symbol. After entry it moves the stop to breakeven, trails it, and closes slices at your take-profit levels. You still choose the setup and the direction.
How does the EA work out the lot size?+
It takes the money you are prepared to lose, divides it by what one lot would lose over the distance from your entry line to your stop line, and rounds the answer down to a lot step your broker accepts. The per-point value is read from the symbol itself rather than assumed, which is why it is correct on gold, indices and crypto and not only on forex pairs. Your round-turn commission is added into the cost of that one lot before the division, so the loss you actually take matches the number you asked for.
Is the CopyConnectFX Trade Manager free?+
Yes. The file is CopyConnectTradeManager.ex5, it is free, and there is no licence key, trial clock or account limit. You download it from the Free Utilities page after signing in, and the account itself is free.
Does the Trade Manager work on MT4?+
No, it is MT5 only. Partial closes and the position handling the breakeven and trailing logic relies on have no honest MT4 equivalent, and faking them would mean closing and reopening trades, which changes your fills and your history. Rather than ship a weaker version under the same name, we left MT4 out.
Can it manage trades I opened by hand or with another EA?+
Yes. The input called Manage every trade on this symbol is on by default, so breakeven, trailing and partials also apply to positions the panel did not open. Turn it off and only the panel's own trades, stamped with its magic number, are touched.
What is R, and why does the EA measure in it?+
One R is the distance the trade was originally risking — entry to stop at the moment it opened. Setting breakeven at 1.0R means the stop moves once the trade is up by as much as it stood to lose, and that setting means the same thing on EURUSD and on gold without being retyped. R is deliberately measured from the stop the trade opened with, not the stop as it moves: measuring from the moving stop would shrink R every time the stop advanced, and the next level would keep arriving early.
Does the Trade Manager place trades on its own?+
Never. Nothing is sent until you press BUY, SELL or PLACE PENDING. There is no strategy and no signal inside it. The only thing it does without being asked is manage positions that are already open, and each of those three behaviours has its own switch on the panel.
What happens if my risk is too small for one lot?+
It tells you and sends nothing. The readout shows too small in amber instead of a lot size. It will not round up to the broker minimum, because on a small account rounding up can quietly mean several times the risk you intended — which is the exact mistake the tool exists to prevent.
Keep reading
Copy trades between MT4 & MT5 in milliseconds
Free local trade copier with a realtime web dashboard. Set up in 10 minutes — no coding.
Get Started Free